-
Flutter: 로그인 & 주사위 게임 실습공부 기록/Flutter 2021. 11. 27. 18:37728x90
https://www.youtube.com/watch?v=mQX_kJKnZzk&list=PLQt_pzi-LLfoOpp3b-pnnLXgYpiFEftLB&index=3
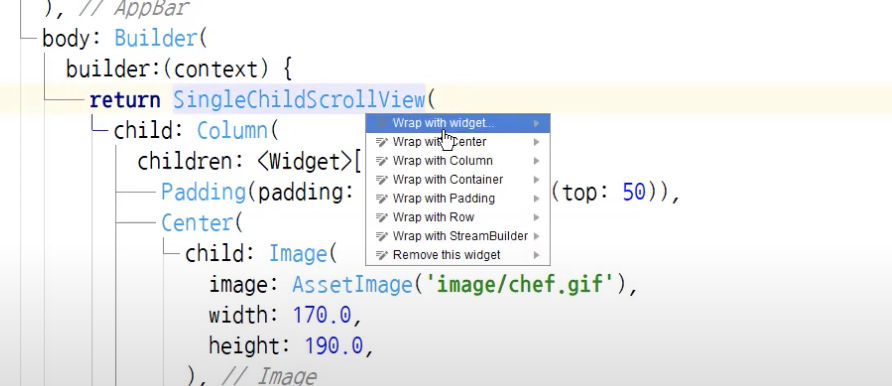
SingleChildScrollView 위젯은. 키보드 입력 시 화면이 잘려보이기 때문에 스크롤할 수 있도록 Column위젯을 해당 위젯으로 감쌈.
https://flutter.dev/docs/cookbook/forms/text-field-changes#2-use-a-texteditingcontroller
Handle changes to a text field
How to detect changes to a text field.
docs.flutter.dev
TextEditingController: 텍스트 폼에 입력한 데이터를 가지고 오는
생성자 생성한 후에 해당 변수 이름을 TextForm의 인자로 전달해주어야 함: controller: {NAME} -> 해당 텍스트폼에 입력한 데이터를 가지고옴
복습 18, 19, 22 -> done
https://www.youtube.com/watch?v=mmR2u8TgoCk&list=PLQt_pzi-LLfoOpp3b-pnnLXgYpiFEftLB&index=7
키보드가 아닌 화면을 누르면 키보드가 사라지는 기능을 구현해보자. 이럴 때 GestureDetecter 위젯 사용.(사용자의 행동을 감지하는 위젯 . 길게 누르기 연속 두번 누르기 등의 액션)
화면의 빈 곳이 사용자의 액션에 반응하는 버튼처럼 작동해야하므로 SingleChildScroolView에 위젯으로 감싸고,
그 중에서 빈 화면을 탭했을 때 반응하는 기능을 위해 onTap() method 이용.
텍스트 필드는 다음 Focus와 관련이 있다. 무엇일까?
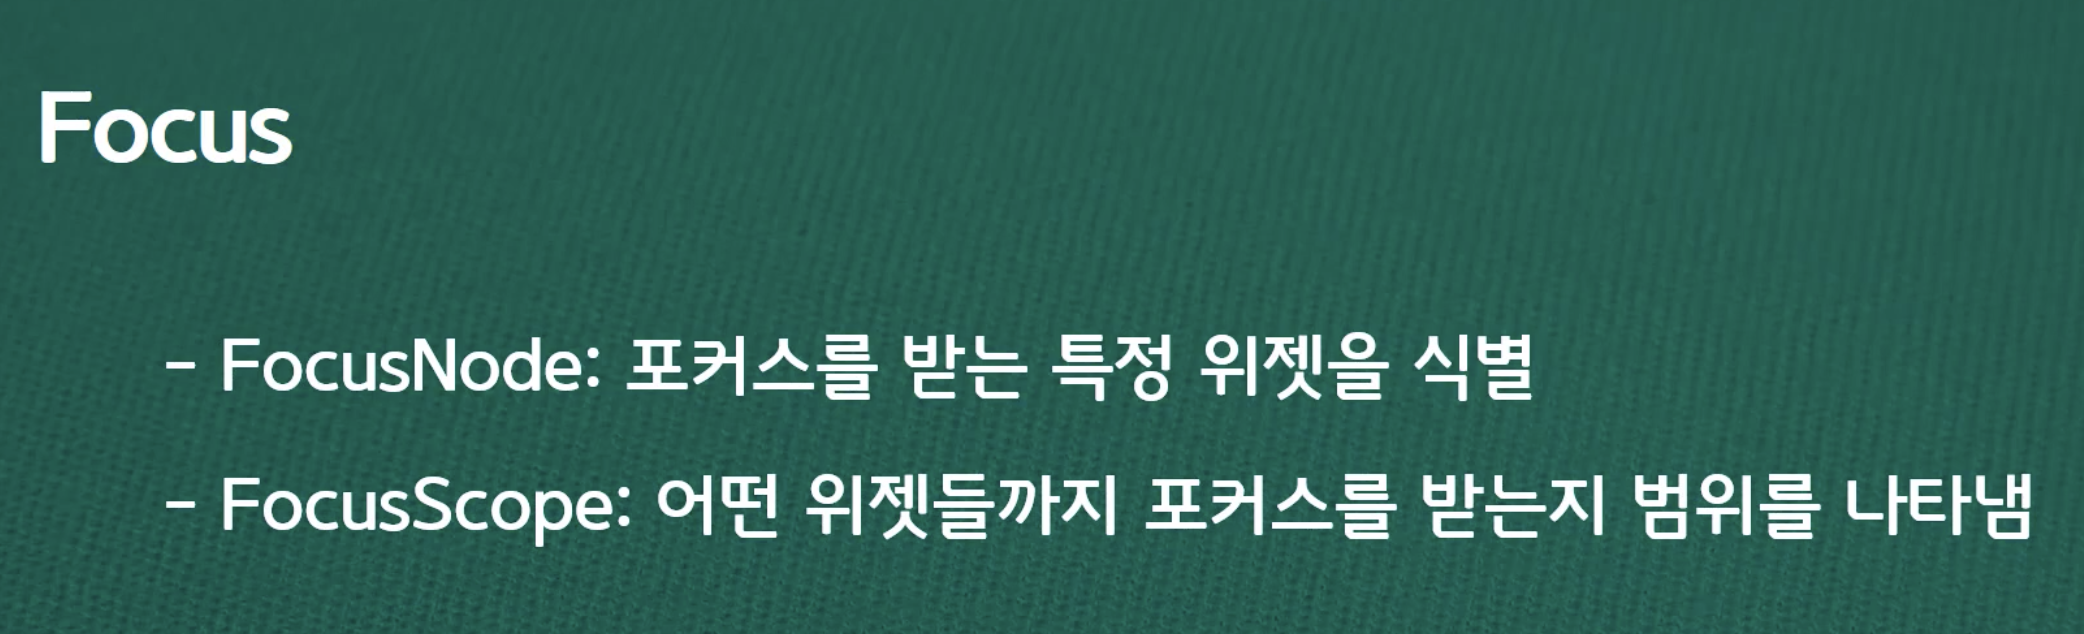
FocusScope.of(context): 이것을 통해 현재 텍스트 필드와 연결되어 있는 포커스 노드를 찾을 수 있다. (참고)
그리고 unfucs() method가 포커스를 없애고 키보드를 사라지게 한다.FocusScope class - widgets library - Dart API
A FocusScope is similar to a Focus, but also serves as a scope for its descendants, restricting focus traversal to the scoped controls. For example a new FocusScope is created automatically when a route is pushed, keeping the focus traversal from moving to
api.flutter.dev
 body: Builder(
          builder: (context){
          return GestureDetector(
            onTap: (){  // 사용자가 빈 곳을 누를때 작동하는 함수
              FocusScope.of(context).unfocus(); // 해당 포커스의 범위가 포커스에서 해제된다(unfocus)
            },
포커스를 받는 텍스트 필드가 없어야 올라와있는 키보드를 내려가게 할 수 있다?
Colum이나 Row 위젯 내의 요소를 정렬할때는 mainAxisAlignment를 이용하자.
      body: Center(
        child: Column(
          // crossAxisAlignment:  CrossAxisAlignment.center, -> 이거 대신 Row widget에서 한번 더 정렬해주어야함.
          mainAxisAlignment: MainAxisAlignment.center, // 주축 정렬 설정, 즉 cloum의 주축인 세로축 정렬 설정 -> 중앙
          children: <Widget> [
            Row(
              mainAxisAlignment: MainAxisAlignment.center, // 가로축으로 중앙
              children: [
                Image.asset('image/dice1.png')
                // Image(   이렇게 구현하는 것보다 위와 같이 Image.asset을 이용하면 더 간단
                //   image: AssetImage('image/dice1.png'),
                //   width: 300.0,
                //   //alignment: Alignment.center -> 가운데 정렬이 이거라고 생각했는 Colmun 위젯에서 정렬은 mainAxisAlignment 위젯을 사용해야함
                // )
              ],
Expanded 위젯은 해당 공간(여기서는 Row)에 맞도록 요소를 확장하는 기능을 한다. Row에 두 개의 이미지를 배치하고 그 이미지들이 Row내에 가득차도록 확장.

flex 속성을 이용할 수도 있음
둘의 간격을 조정하려면 Padding widget으로 감싸기
마지막으로 left/rightDice 변수를 선언하고, Random함수를 이용하여 임의의 숫자가 나오도록 한다. 이 때 dart: math;를 임포트해주어야 한다.
import 'dart:math';

class _DiceState extends State<Dice> {

  int leftDice = 1;
  int rightDice = 1;

.
.

onPressed: (){
 setState( () {
   leftDice = Random().nextInt(6) + 1;
   rightDice = Random().nextInt(6) + 1;
 });
 showToast("Left dice: {$leftDice}, Right dice: {$rightDice}");
 },
임의의 숫자에 따라 보여지는 이미지들도 다르게 보이도록 Expanded(child: Image.asset('image/dice$leftDice.png')) 으로 변경해준다. 이 때는 {}을 안 써줘도 되는군.
dice.dart 파일의 전체 코드
import 'package:flutter/cupertino.dart';
import 'package:flutter/material.dart';
import 'dart:math';
import 'package:fluttertoast/fluttertoast.dart'; // toast 메시지 구현을 위한 라이브러리

class Dice extends StatefulWidget {
  @override
  State<Dice> createState() => _DiceState();
}

class _DiceState extends State<Dice> {

  int leftDice = 1;
  int rightDice = 1;


  @override
  Widget build(BuildContext context) {
    return Scaffold(
      backgroundColor: Colors.redAccent,
      appBar: AppBar(
        backgroundColor: Colors.redAccent,
        title: Text('Dice game'),
      ),
      body: Center(
        child: Column(
          // crossAxisAlignment:  CrossAxisAlignment.center, -> 이거 대신 Row widget에서 한번 더 정렬해주어야함.
          mainAxisAlignment: MainAxisAlignment.center, // 주축 정렬 설정, 즉 Column 주축인 세로축 정렬 설정 -> 중앙
          children: <Widget> [
            Padding( // 주사위가 있는 Row의 간격을 조절하기 위하여 Padding widget으로 감쌈
              padding: EdgeInsets.all(32.0),
              child: Row(
                mainAxisAlignment: MainAxisAlignment.center, // 가로축으로 중앙정렬
                children: [
                  Expanded(child: Image.asset('image/dice$leftDice.png')),
                  SizedBox(width: 20.0,), // 주사위 사이에 간격 조절
                  Expanded(child: Image.asset('image/dice$rightDice.png'))
                ],
              ),
            ),
            SizedBox(
              width: 60.0,
            ),
            ButtonTheme(
              minWidth: 88.0,
              height: 60.0,
              buttonColor: Colors.orangeAccent,
              hoverColor: Colors.white,
              child: ElevatedButton(
                child: Icon(
                  Icons.play_arrow,
                  color: Colors.white,
                  size: 50.0,
                ),
                 onPressed: (){
                  setState( () {
                    leftDice = Random().nextInt(6) + 1;
                    rightDice = Random().nextInt(6) + 1;
                  });
                  showToast("Left dice: {$leftDice}, Right dice: {$rightDice}");
                  },
               ),
              ),
          ],
        )
      ),
    );
  }
}

void showToast(String msg){
  Fluttertoast.showToast(
    msg: msg,
    backgroundColor: Colors.white,
    toastLength: Toast.LENGTH_SHORT,
    gravity: ToastGravity.TOP_LEFT);
}
이로써 샘플앱을 드디어 완성했다 :)
너무나 쉽게 그리고 가장 기본적인 개념들도 잘 잡아주신 코딩쉐프님 덕에 이번 실습은 포기하지 않고 끝까지 할 수 있게되었다. 감사합니다!!!'공부 기록 > Flutter' 카테고리의 다른 글
Flutter: constant, final (1) 2021.12.03 Flutter: 스낵바, BuildContext (0) 2021.11.28 Flutter: collection, generic (0) 2021.11.23 Flutter: Navigator, BuildContext (0) 2021.11.21 Flutter 기초 공부: Rows, Columns, Flutter outline & shorcuts, Expended widget (0) 2021.11.16